Mastering the Art of Frying an Egg: Your Ultimate Beginner's Guide
Few dishes are as universally beloved and deceptively simple as a perfectly fried egg. Whether nestled on a slice of avocado toast, crowning a burger, or served alongside a hearty breakfast, a well-cooked fried egg elevates any meal. But for many, achieving that diner-style perfection – whether it’s a glistening, runny yolk or a firm, fully cooked center – can feel intimidating. The good news? It doesn't have to be! This comprehensive guide will show you how to fry an egg like a seasoned pro, transforming you from a hesitant beginner into a breakfast master.
Forget overcooked, rubbery whites and burnt edges. We're here to walk you through every step, from selecting your ingredients to understanding heat control, ensuring you consistently achieve your desired fried egg style, from the classic sunny side up to the sturdy over hard. Get ready to impress yourself and your taste buds!
The Essential Tools & Ingredients for Frying the Perfect Egg
Before you even crack an egg, gathering the right equipment and choosing quality ingredients lays the groundwork for success. You don't need fancy gadgets, just a few kitchen staples.
Your Frying Pan: Nonstick is Your Best Friend
For beginners, a good nonstick pan is paramount. It minimizes sticking, making flipping (when required) a breeze and ensuring your egg slides out effortlessly. A small pan (6-8 inches) is ideal for frying one or two eggs, helping to create those beautifully rounded shapes. While some advanced cooks swear by well-seasoned cast iron, a nonstick pan offers a forgiving experience for those learning how to fry an egg without hassle.
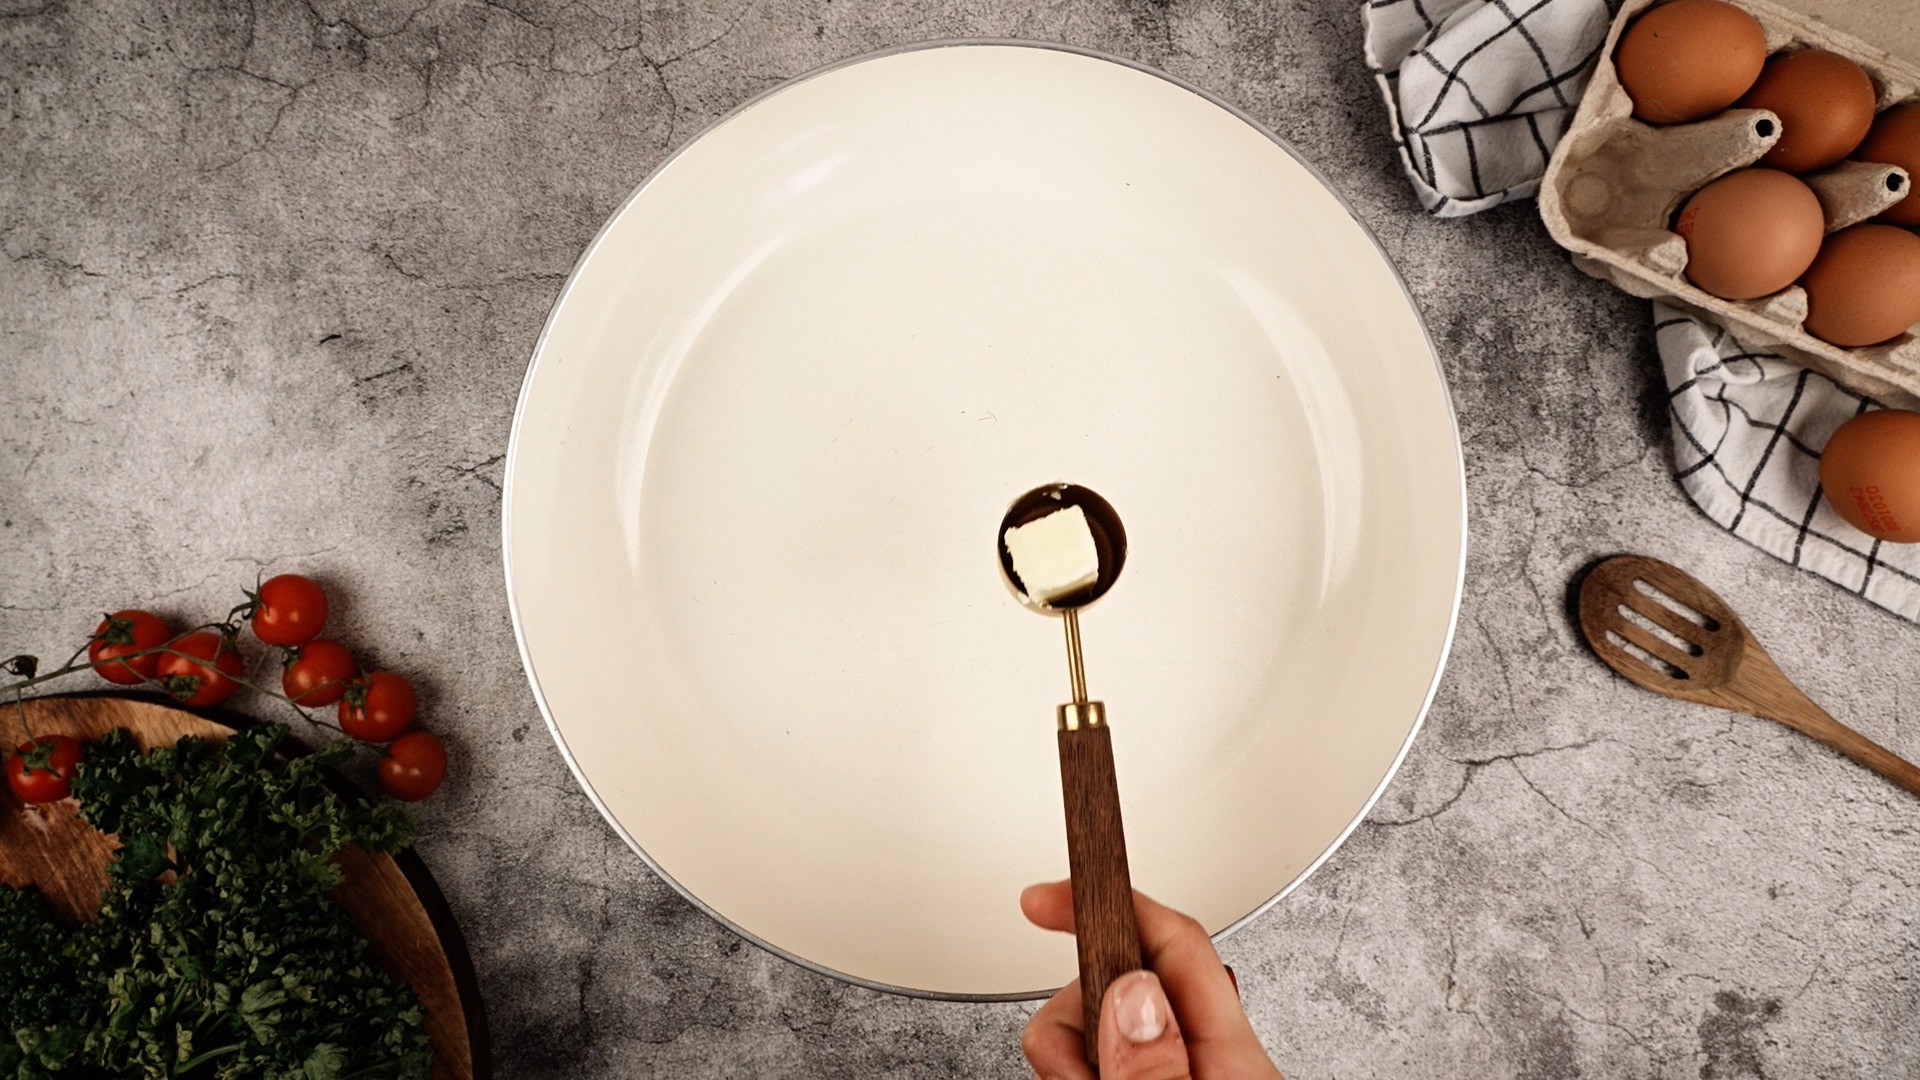
Fat Choices: Butter, Oil, or a Combination?
The fat you choose impacts flavor and texture:
- Butter: Provides a rich, classic diner flavor and helps create a lovely golden-brown crispiness on the edges if desired. Be mindful that butter can burn quickly, so keep the heat moderate.
- Oil (Vegetable, Canola, Olive): Offers a cleaner taste and a higher smoke point, making it more forgiving with heat. A light olive oil or a neutral vegetable oil works wonderfully.
- Combination: Many chefs use a mix of butter and a high-smoke-point oil. The oil prevents the butter from burning too quickly while still imparting that delicious buttery flavor.
You'll typically need about 1-2 teaspoons per egg.
The Star of the Show: Your Egg
Fresh, high-quality eggs make a noticeable difference. Fresher eggs tend to have firmer whites that hold their shape better, resulting in a neater, rounder fried egg. For the best results, use eggs straight from the refrigerator.
Other Essentials
- Small Bowl or Ramekin: Crucial for cracking your egg into before it hits the pan.
- Flexible Spatula: A thin, flexible plastic or silicone spatula is essential for gently lifting and flipping eggs without tearing.
- Salt & Pepper: Simple seasonings are often all you need, but feel free to experiment.
Step-by-Step: The Foundation of Frying an Egg
This core technique applies to almost all styles of fried eggs. Mastering these initial steps is key to consistent success.
1. Prep Your Egg for Success
Before the pan even heats up, crack your egg into a small bowl. This seemingly minor step is a game-changer:
- Shell-Free Zone: It allows you to easily pick out any errant shell fragments that may have fallen in.
- Perfect Placement: Pouring from a bowl gives you more control, reducing the risk of breaking the yolk and allowing you to gently guide the egg into a more desirable, rounded shape in the pan.
This simple trick sets you up for frying eggs like a pro.
2. Heat Management: The Golden Rule
Add your chosen fat (1-2 tsp) to your nonstick pan and place it over medium heat. Let the fat melt and just begin to foam (for butter) or shimmer (for oil). Swirl the pan to ensure the bottom is evenly coated. Too high heat will scorch the whites and make them tough; too low and your egg will simply sit there, refusing to cook properly. The ideal sound is a gentle, consistent sizzle – not a violent splutter.
3. Introducing the Egg to the Pan
Once your fat is ready, gently pour your egg from the bowl into the center of the pan. As soon as the egg is in, season it immediately with a pinch of salt and pepper. Crucially, reduce the heat to medium-low. This lower temperature allows the egg to cook gently and evenly without burning the bottom while the top sets.
4. The Quest for Flat, Even Whites (Optional but Recommended)
For that picture-perfect, diner-style fried egg with a flat, even white, here's a pro tip: as the egg begins to set, take a fork and gently poke or prick the thicker parts of the egg white, especially where it sits higher around the yolk. The goal is to encourage the thicker whites to spread out and cook evenly. This prevents those annoying "bubbly" or "puffy" sections, ensuring a beautifully consistent texture.
Mastering the Different Styles of Fried Eggs
Now that you have the foundation, let's explore how to achieve each popular style of fried egg.
Sunny Side Up: The Classic Diner Dream
The hallmark of a sunny side up egg is a completely set, tender white with a gloriously bright, runny yolk.
How to: Follow the foundational steps above. Cook the egg over medium-low heat until the whites are fully set but the yolk remains liquid. This typically takes about 3-4 minutes.
Troubleshooting Translucent Whites: If, after 3-4 minutes, the very top of the white still looks a bit slimy or translucent, you have a couple of options:
- Basting: Add another teaspoon of butter to the pan. Once melted, gently spoon the hot butter over the uncooked whites until they set. This keeps the yolk beautifully bright.
- Steaming: Add 1 teaspoon of water to the pan and immediately cover it with a lid for 15-30 seconds. The steam will cook the top of the egg. Be aware that this can sometimes create a thin, cloudy film over the yolk, diminishing its vibrant yellow appearance.
Over Easy: A Quick Flip for a Delicate Yolk
Over easy eggs have fully set whites and a yolk that is completely runny, similar to sunny side up, but with a slight film or set on top from the flip.
How to: Cook the egg on one side over medium-low heat for 1-2 minutes, or until the whites are mostly set but the very top is still slightly unset. Using your thin, flexible spatula, carefully slide it under the entire egg and quickly, yet gently, flip it over. Cook for an additional 30-60 seconds on the second side. The goal is to just cook the top film of the yolk without solidifying the inside.
Over Medium: A Jammy Delight
For those who prefer a yolk that's still creamy and slightly runny, but not fully liquid, over medium is your go-to. It often has a beautiful "jammy" consistency.
How to: Follow the over easy steps for the initial cook and flip. After flipping, cook the egg for 1-1.5 minutes on the second side. The yolk will be warmer and more viscous, but still soft and flowing when cut.
Over Hard: Fully Cooked & Firm
The over hard egg is for those who want no runniness whatsoever. Both the whites and yolk are completely firm.
How to: Cook on the first side for 2-3 minutes until the whites are fully set and the edges might be slightly crispy. Flip the egg. Cook on the second side for another 2-3 minutes, perhaps gently pressing down on the yolk with your spatula a few times to ensure it cooks through completely. You can also break the yolk with your spatula before or after flipping to speed up the cooking if desired.
Troubleshooting Common Fried Egg Faux Pas
Even pros have an off day. Here are quick fixes for common issues:
- Burnt Edges & Crispy Whites (when not desired): Your heat is too high. Reduce the temperature immediately. Ensure you're cooking on medium-low.
- Broken Yolks: This often happens from cracking directly into the pan, using old eggs (yolks are weaker), or being too aggressive with the spatula. Always crack into a bowl, and use a gentle hand.
- Sticking to the Pan: Your pan isn't truly nonstick, or you didn't use enough fat. Ensure the pan is properly heated before adding the egg, and don't skimp on the butter or oil.
- Slimey Whites (Sunny Side Up): As discussed, either baste with hot butter/oil or use the steaming method to set the top without flipping.
Beyond the Basics: Tips for Elevated Fried Eggs
- Crispy Edges: If you *do* love those lacy, crispy edges, increase your heat slightly to medium-high for the last 30-60 seconds of cooking. Be careful not to burn the center!
- Seasoning Variations: Don't stop at salt and pepper! Try a pinch of smoked paprika, chili flakes, everything bagel seasoning, or fresh herbs like chives or parsley. A dash of hot sauce or a drizzle of truffle oil after cooking can also transform your egg.
- Serving Suggestions: Fried eggs are incredibly versatile. Enjoy them on toast, with rice, over roasted vegetables, atop a noodle dish, or as a decadent addition to a bowl of ramen.
Conclusion
Frying an egg is more than just cooking; it's an accessible culinary art form that offers instant gratification. With the right techniques, a little patience, and a willingness to experiment, you can easily master how to fry an egg to your exact preference every single time. So, grab your pan, crack an egg, and start experimenting. Your perfect fried egg awaits!
